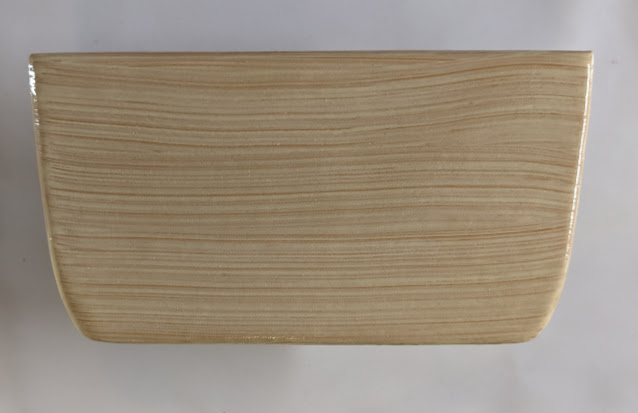
The rear glove box in my Ferrari 360 Spider was destroyed by a previous owner who converted it into a tweeter. I received none of the removed parts when I purchased the car. There are two kinds of car owners in the world of classics and exotics. The first kind personalizes their car by doing custom modifications. The second kind buys these cars and brings them back to stock. I'm sure someone after me will undo what I've done. The rear "B" pillars had also been modified into a base speaker. I already found "B" pillars in Crema to replace that mess.
To restore my rear glove box to original, I had to buy a complete unit from a breaker (on eBay of course). Finding a Crema colored unit proved to be impossible so after two years of looking, I bought the lightest color unit I could find, which was tan, and somehow turn it into Crema to match my car.
Here's the starting point of this project. My rear glove box which had no guts at all, and the cover of the glove box from the donor unit.
The part that needed the color change is small and has no stitching, so it's relatively simple. To match the color, I had three choices:
1. Bring it to a leather shop and have them do it. While this is probably the best option, it leaves everything up to the shop and I have little confidence that any shop in Memphis would be able to handle it. Plus, it could get expensive.
2. Use the old "B" pillar base speaker material as donor leather. This is a good option and would likely match well. I have no experience in leather, so this one has high risk and will destroy the base speaker box, which someone spent a lot of time and effort making.
3. Buy some sort of kit and do it myself. I'm big on do it myself but since I have zero experience with dyeing leather, high risk.
I chose to do it myself. If it turned out lousy, I could always go for one of the other options.
I found a company online that sold a kit that was supposed to match the Crema (they called it Ferrari Cream) color of my interior. I looked at a number of possibilities and only one (Luxury Leather Repair) had a color that looked close.
The cost was pretty steep for a risky operation, about $95 (look for the coupon for $10 off).
Here's what $95 gets me:
The kit came with simple but detailed instructions and included not only the color dye, but a cleaner, primer, color dye, and a top coat. The rest were for maintenance. I prefer the Leatherique products for that.
After cleaning with acetone and the included cleaner for the kit, the donor piece looked like this.
The instructions say to prime with a single coat of the adhesion promoter, then use a sponge to apply the dye in light coats. I tried blotting and wiping and was very disappointed in the results. I prefer to spray finishes myself but the instructions made no mention of using a spray gun.
After a single primer coat, and the first dye coat, the donor piece looked like this. Ugly.
I decided to try spraying instead of using the silly sponge. I'm pretty good with a spray gun and have several good ones. I used this small 4 oz gun for the job.
Here are the results after four coats, two sponged, two sprayed. The sponged defects still show through but the surface is smooth thanks to the very thin coats being applied. Much better. The color dye sprayed very nicely. They should have included that the dye could be sprayed in the instructions.
After a total of five coats of dye and two coats of top coat, the results are very good.
The body of the glove box was a bit tired and had 20 years of wear on it so I cleaned it carefully, primed it and sprayed a single thin layer of dye on the body. To protect the stitching, I hand applied the top coat to the stitches so they wouldn't absorb any dye, then masked them off with 6mm green masking tape. I was careful to just touch the tape with the spray so that the color would blend.
After drying a day, I swapped the mechanical parts from the donor unit into my unit, adjusted the door position and that was it.
The finished results! My wife, who has excellent color sense said the match was 99%. That's good enough for me.
I have this as a leftover. It's in great shape, a bit dirty, but very serviceable. If I don't sell it, I'll just throw it into the parts bin of "Ferrari extra parts".
I'd rate this job as pretty easy for someone with a good small spray gun and experience using it. Otherwise, following the instructions using a sponge would yield unsatisfactory results.


Comments
Post a Comment