I was having a problem losing coolant and thought it could be somewhere in the front, like a radiator connection or something like that, so I put the car on the lift and took off the front pan. I found four of the tabs where the front pan attaches to the bumper had broken off. Bad news there!
Upon closer examination, it looks like sometime in the past a former owner hit a parking wheel stop hard and crushed the left side of the lower front bumper, luckily, an area painted black. The repair had failed and the material that had been added popped off the bumper and was just hanging on by the bolts used to secure the scrape pads on the bottom of the bumper. After removing the scrape pads, I found the entire area had fractured into pieces as the material that was used in the repair just didn't stick to the bumper.
The bumper had to come off and this repair had to be redone properly with better materials and surface preparation.
To repair this issue, I'm going to go way beyond what any bodyman would do.
1. Recreate the original size, shape and contours of the broken parts using bondo and gel epoxy.
2. Bring the outside surface back to original using bondo and glazing putty so it is cosmetically good.
3. Make a mold of the area that needs to be replaced.
4. Cut out all the broken bits.
5. Cast a new part in place using epoxy fiberglass.
6. Return the surfaces to cosmetically good.
7. Prime and paint everything black. Flat on the inside of the bumper, satin on the outside.
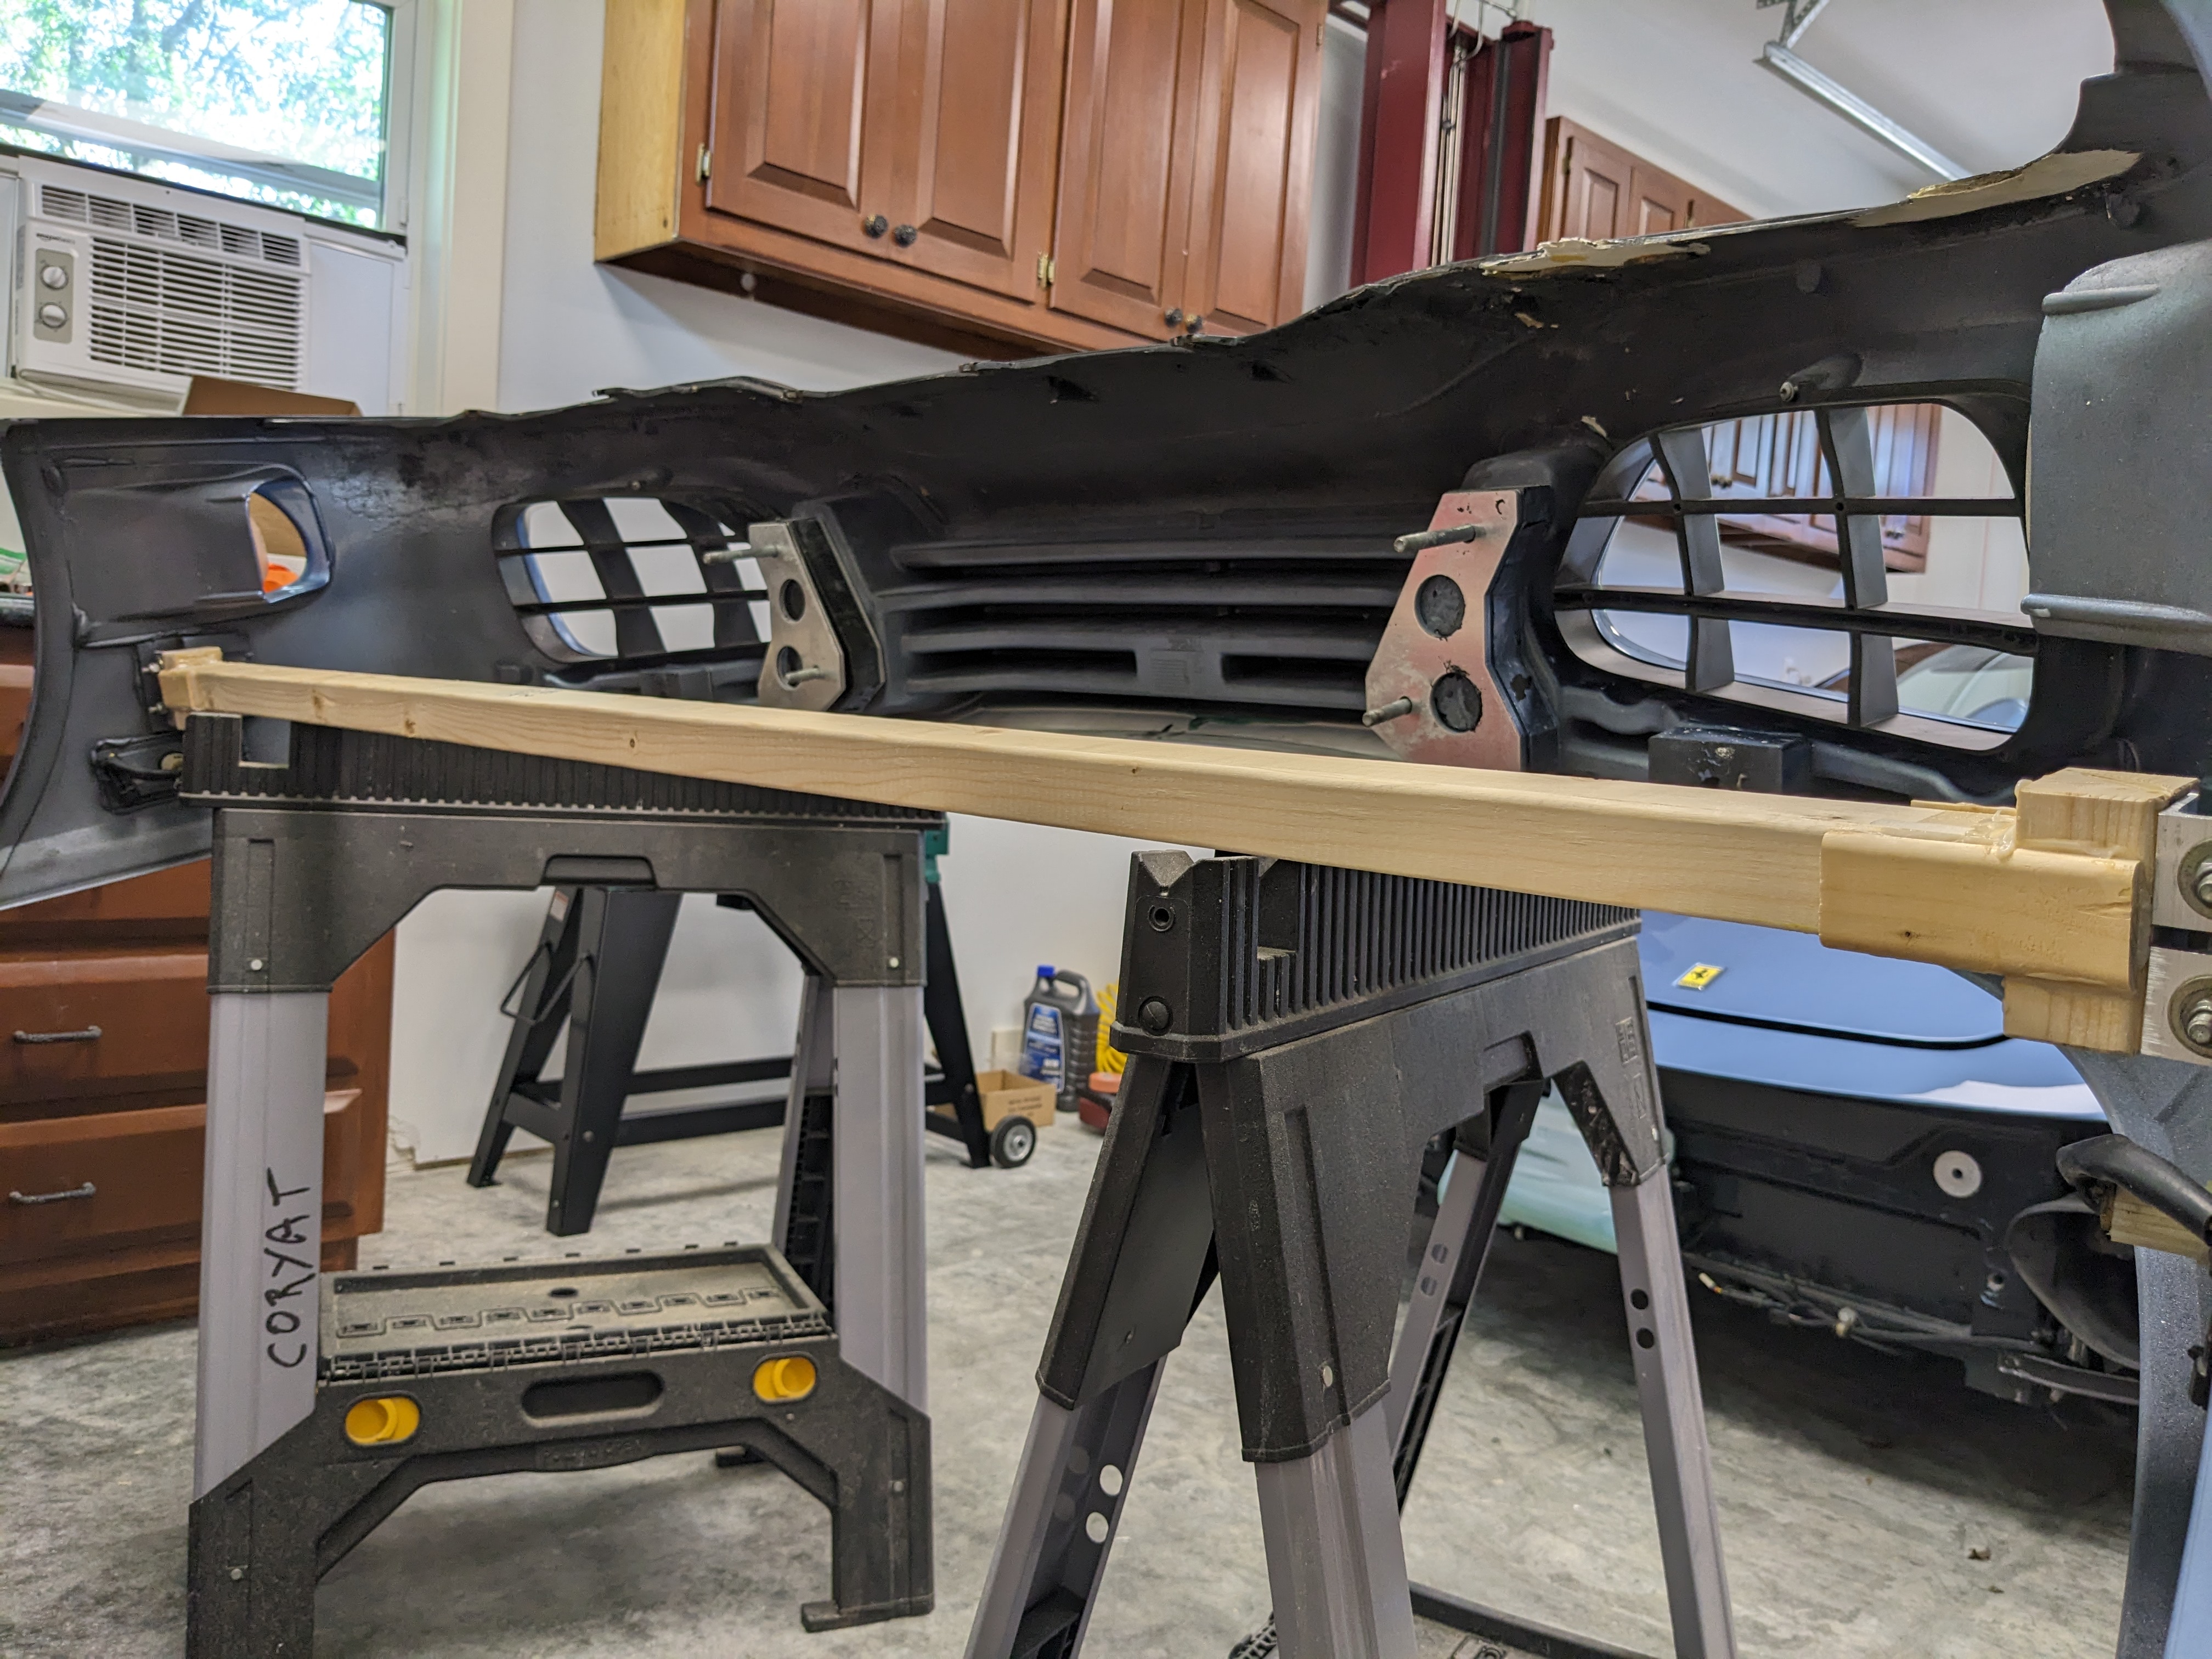
To make life simpler for myself, I fashioned a jig so I could move the bumper without help and keep it from deforming. Cost me half a 2x4.
This picture shows one of the tabs completely missing.

This tab had been repaired with bondo. Again, bondo just isn't a structural material.

Not too much to work with here.


Step 1 is to recreate the original shape and make it cosmetically acceptable. I glued the broken parts back together using System Three Gelmagic. It's quite a useful material. I love it. To start, I just goop the amount I think will work onto the area that needs it. No need to shape it yet. Just glop it into place.

It already looks pretty good after just one treatment.

Gelmagic has a very useful property in that it gradually gets harder as time passes in a very predictable manner. After about two hours, the material can be manipulated like clay. It's a bit sticky but using gloves treated with a very tiny bit of silicone lube keeps the stickiness at bay. Pressing the setting Gelmagic into the right shape while in this clay like form cuts hours of work from the task. The end result is near net shape that can easily be sanded into the finished form.
Note in this picture how the epoxy is now smooth and nearly the net shape required. This is about the two hour point in setting.

Here it is after setting for 12 hours. The clamps can be removed and the material sanded. Gelmagic sands ridiculously easy with 80 grit at this stage. Later, it becomes hard as formica and is much more difficult to shape. Best to hit it around 8 to 12 hours for the easiest shaping by sanding. I hand sanded everything here.

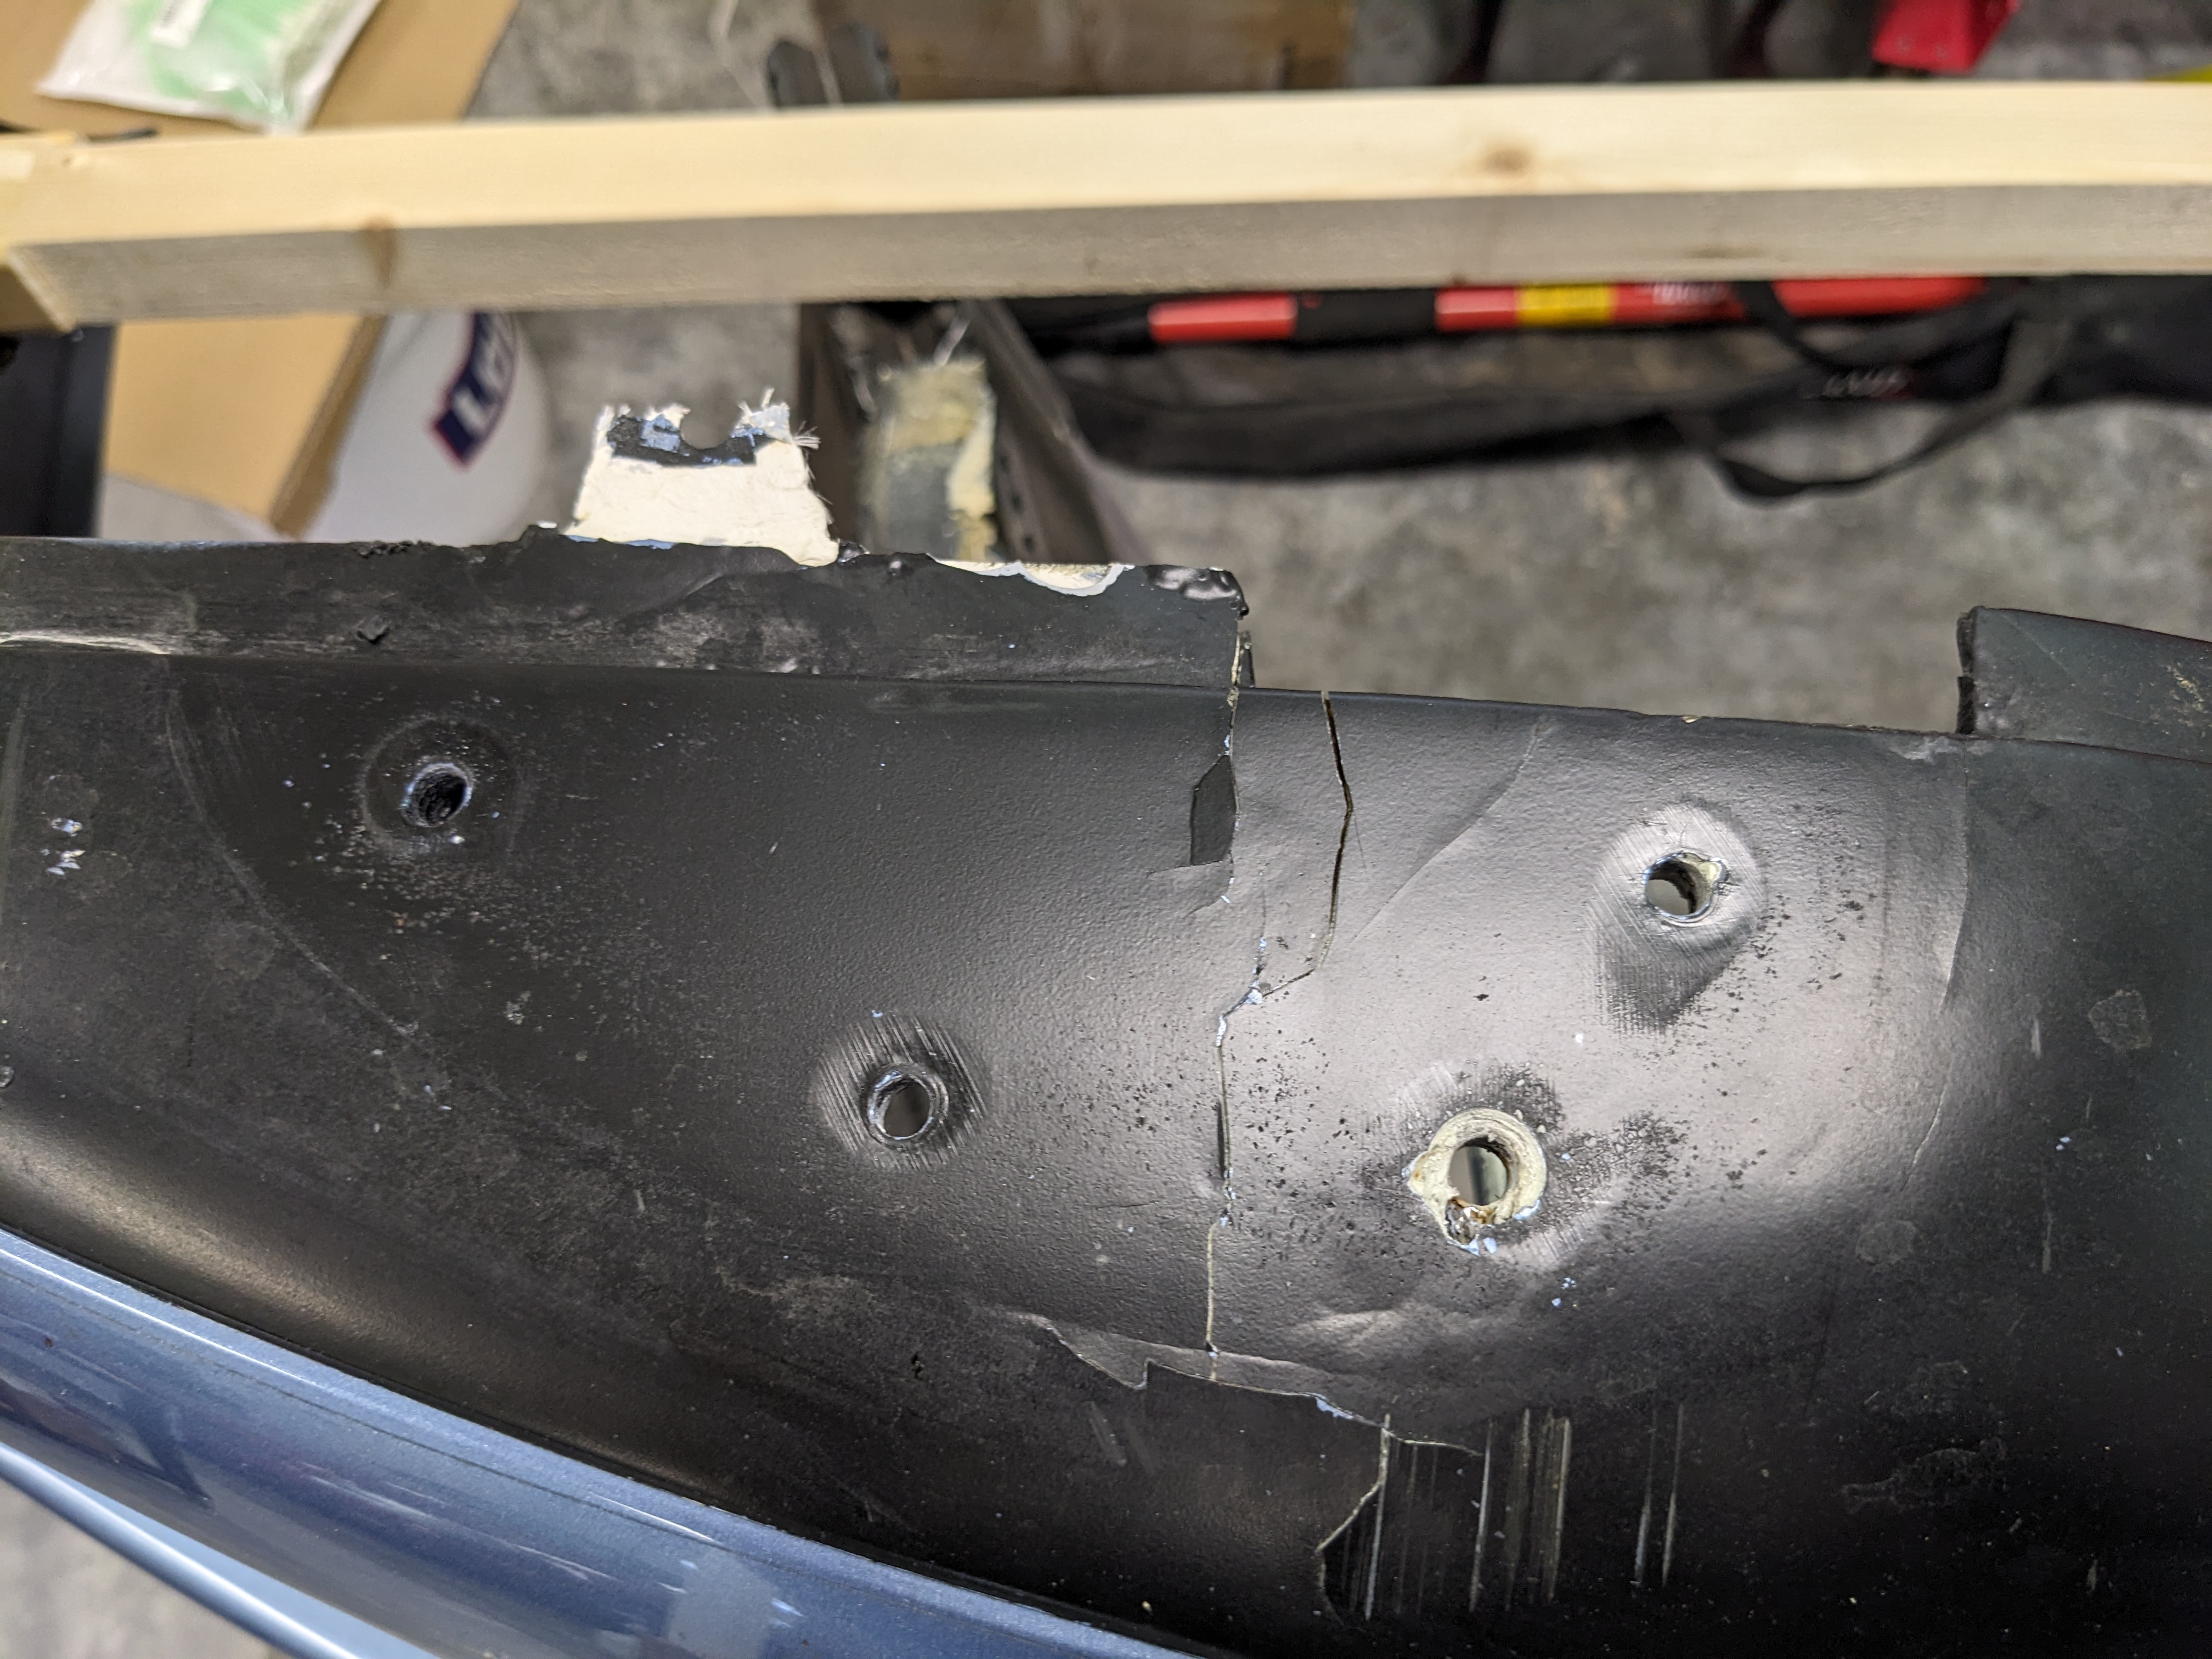
The old repair used a lot of different materials. It looks like they used bondo, a perforated bit of metal, urethane gel, and fiberglass mat. Bondo was used to get the basic shape back, then the urethane gel appears to have been gooped on, and then the perforated plate just stuck into the goop. I can't imagine how the repair person could have thought this was ok. The urethane gel was extremely stiff and cracked in dozens of places. On top of the metal plate, a traditional fiberglass was used. It might have been a second repair after the first failed. It's difficult to tell.
Here's the underside. Pretty ugly.

Here's the outside of the repair. Note that it looks like a jigsaw puzzle with a bunch of the pieces missing. That's probably why they used bondo. The guy probably held it while it set. The cracks go all the way around from this part to past the other missing tab.

Here's another view.

A closeup of the tab. Looks pretty ugly but with a little sanding...

Here's what it looked like after sanding it into shape. I used only hand sanding as I didn't want to shake the entire thing to pieces. The bumper exterior is protected by a sticky wrap material used to protect cars from water damage after an accident. It's pretty thick, is resistant to chemicals and sticks readily to the surface. It's dirt cheap and comes in 100 foot rolls.

Another view... I'm doing all this outside so bad weather stopped me from working on it quite a few times.

For the inside of the bumper, the surface had to be returned to flat so I could attach a backing board to support the mold. I ground it down, removed all the fiberglass, perforated metal and urethane gel, and then built it back up with bondo.
This is a "before".

After one coat of bondo...

After sanding and another coat of bondo, it was pretty close.

Sanding left a nice, flat surface that can be used to attach the backer board (actually a sheet of Styrene).
To "read" the shape of the inside bumper, I used a stiff piece of wire (10 ga) and then transferred that shape to cardboard, where I trimmed it down to the right shape and transferred that shape to styrene sheet. Styrene has the remarkable property of being able to be cut by simply scoring with a razor knife and snapping it. Complex shapes can easily be produced using styrene sheet. The negative for styrene is that almost everything toxic melts it. For things like backer boards, it's the perfect material. I use 1/16" thick styrene sheet.

Here's the styrene sheet in place. Fits fine.

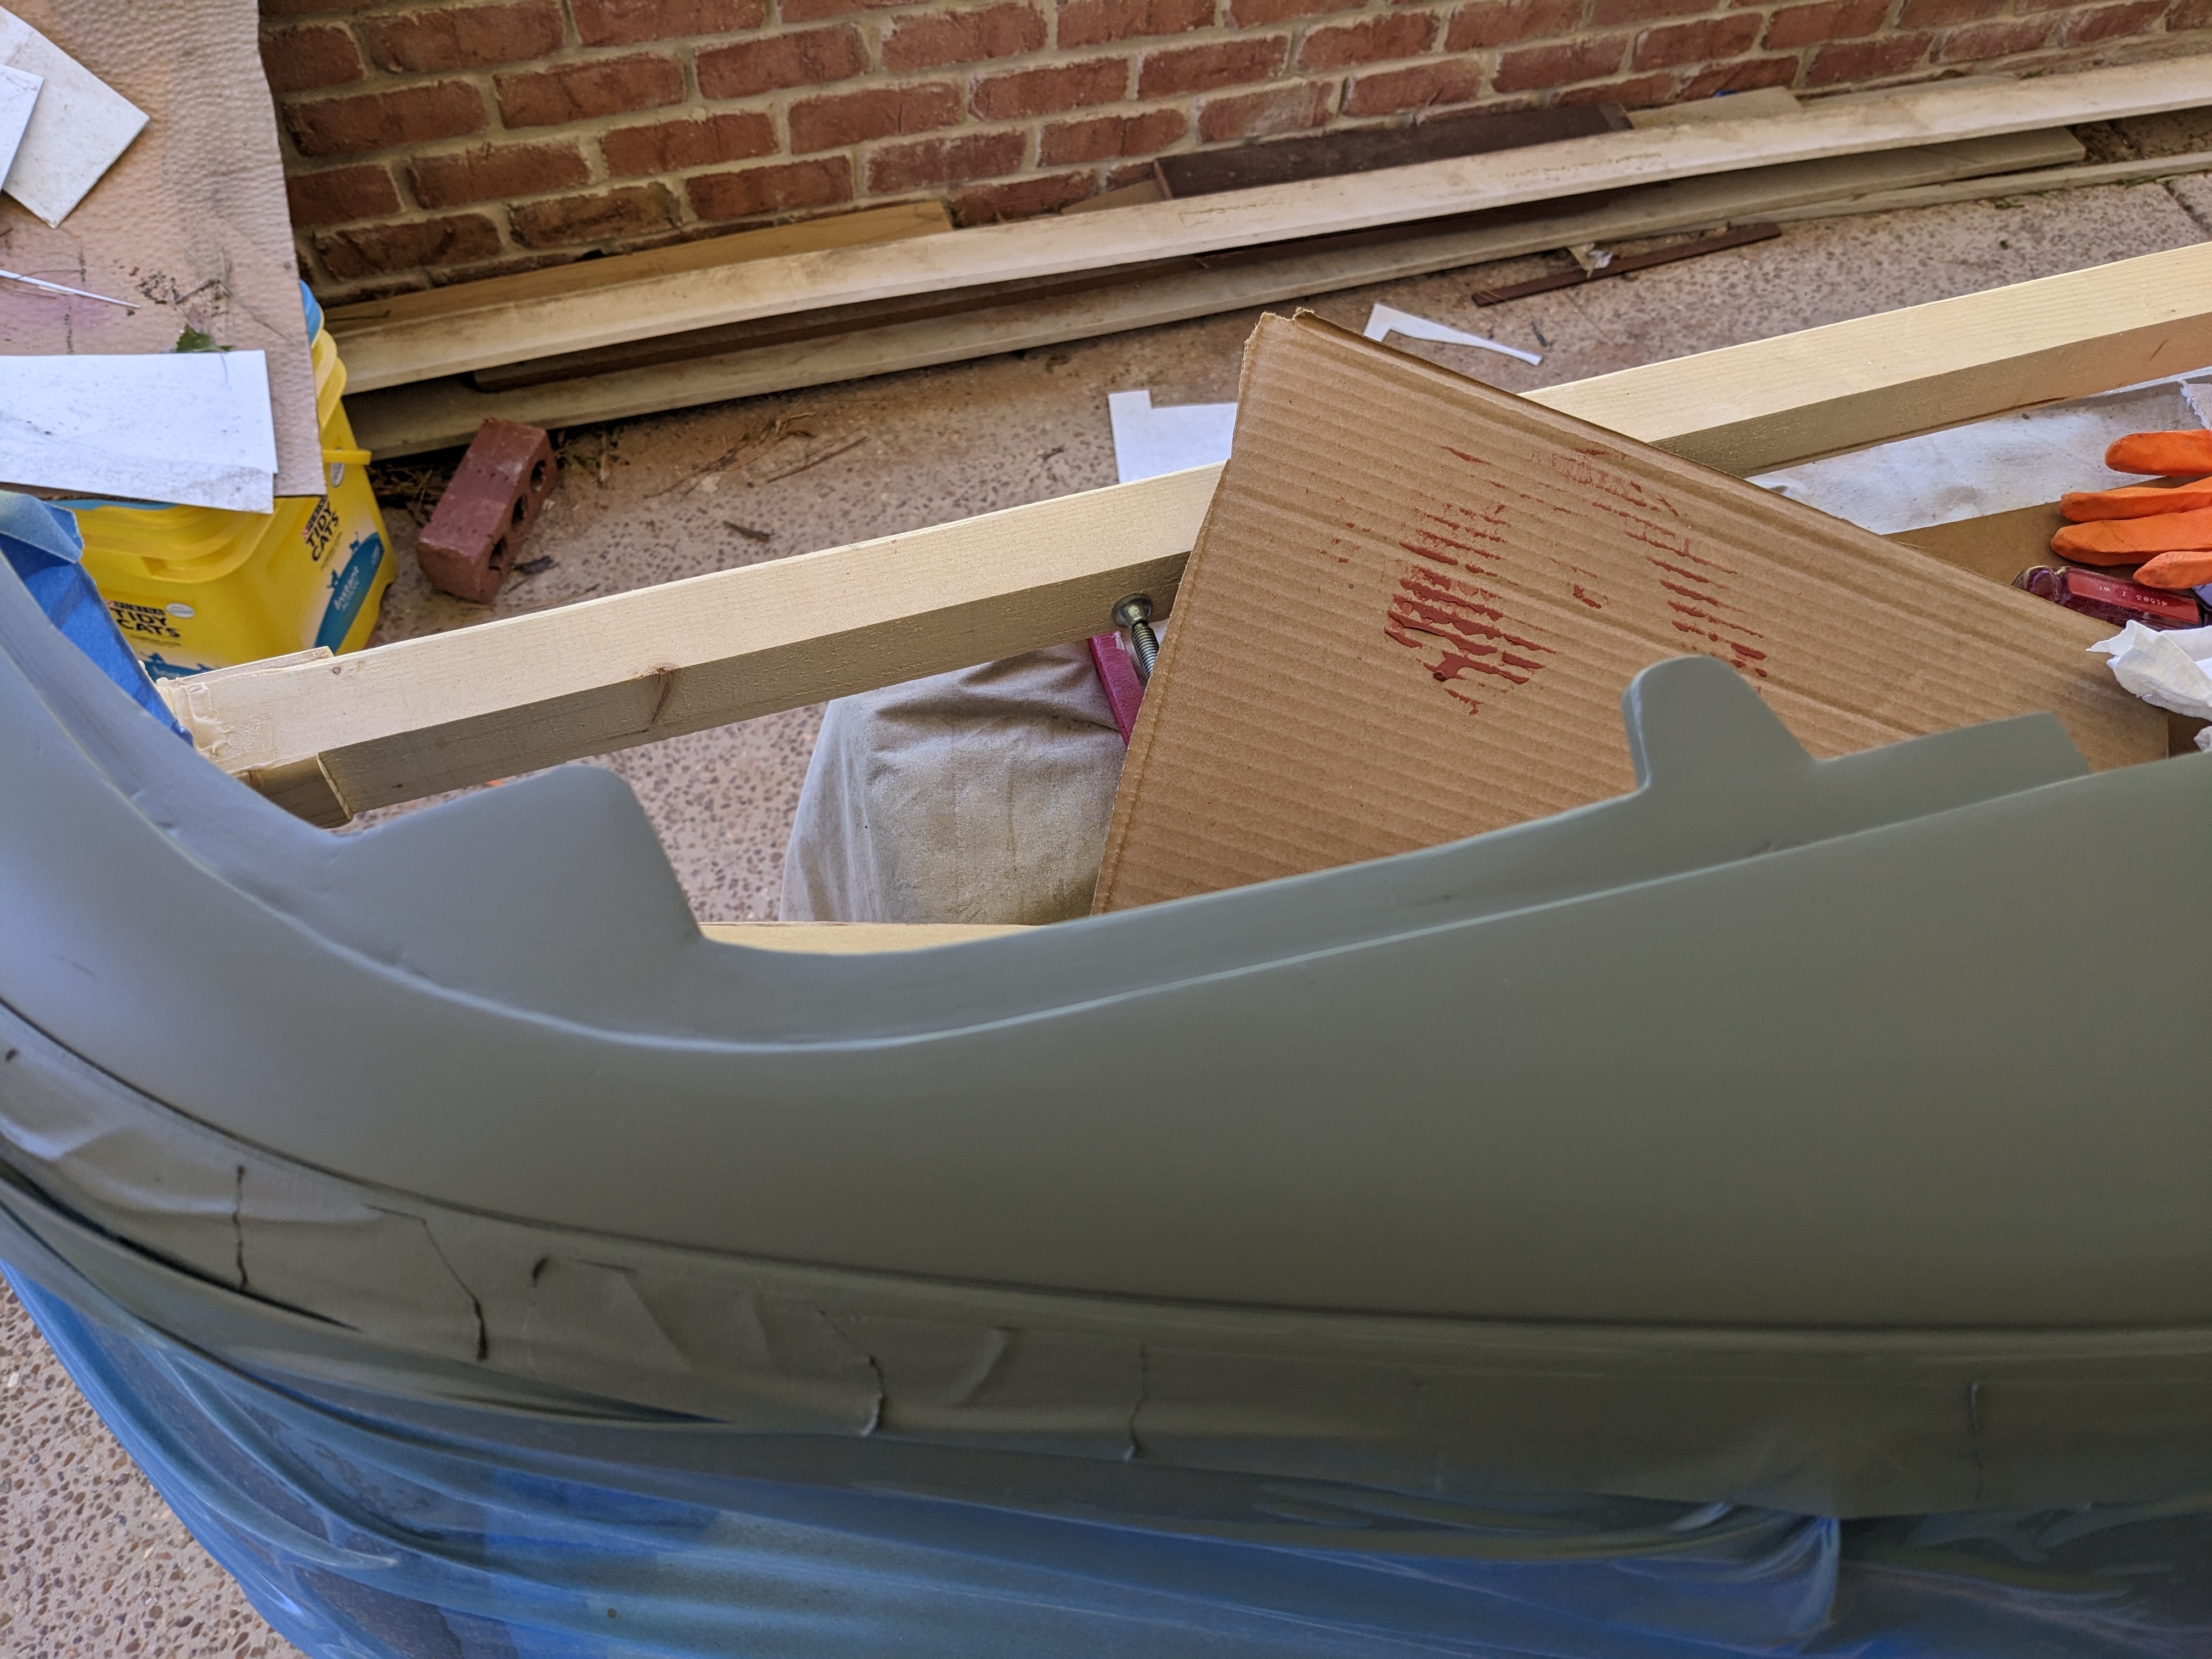
Here's the outside, ready for the first priming.

After priming, I used red glazing putty to fill in the minor imperfections. Love that stuff. Saves a lot of time and effort.

Here it is with the final priming. I don't need to finish it any further as this is just temporary. I could give up at this point, drill a couple holes in the tabs and button it up, but I actually want to repair the damage and not just cover it up again.

The view from another angle. The surface is very nice. Ready for the mold.
The right side had two tabs broken off too. The damage on the right side was minor and was restricted to the tabs. To fix these, I ground the tab to the metal, and the area around the tab for a couple of inches and filled it in using a mixture of Gelmagic and 3/4" loose stranded fiberglass. The fiberglass material is used in cement mixes and is incredibly inexpensive.
Mixing can be a bit of a challenge. The trick is to mix in batches of about 40 grams of resin with 30 grams of fiber. Put in a deep cup and carefully mix until it becomes a unified glob. Then scrape out of the cup onto a piece of plastic and finish the mixing by squeezing it with a gloved hand. Squeeze it flat, then fold. Repeat 50 times. When finished, the material will have all the strands horizontally oriented and ready to apply.
After applying, I covered the area with plastic and after about two hours, pressed it into a solid mass. The inside of the tabs had been repaired using the perforated sheet metal, and that was still solid, so with the outside repaired with fiberglass, both sides of the bumper material were "cocooned" in repair material.
A note on "Rangerplast", which is the material used to make these bumpers. It's really a terrible material in that it appears to be made of cornstarch and cotton with a resin binder. It's incredibly soft, and has awful bonding characteristics. That's probably why the previous repair failed so badly. It just popped off at the first stress. The only way to actually bond to the original bumper material is to use a repair on both sides of the original, "cocooning", or "sandwiching" it with repair material. Otherwise, my repair would fail just as quickly.

Here's the tab, trimmed with a multitool. Looks a bit hairy and rough but a little sanding will fix that.

Here's the result after 20 minutes of sanding. I used a DA on the edges, everything else was hand sanded using an 80 grit block.

To attach the backer board to the underside of the repair area, I used double sided sticky tape from Ace. They make a great material used in carpet installations that has numerous other uses, especially in mold making and CNC work.
This picture shows the double sided sticky tape in position ready for the backer board. I made a silly error and forgot to take the backing off one of the tabs. That cost me 20 minutes of fiddling around. How stupid! Double check before doing something that cannot be undone! I wish I followed that advice.

Now the backer board is attached.

Here's what it looks like from the outside. Very clean and the backer board is tight on the bumper. I could have sealed all the seams with clay to keep the epoxy from intruding into the bumper but since all that material was going to be removed, I skipped that step.

I used modeling clay to build up the rest of the mold. Modeling clay is an excellent material for this purpose as it's easy to shape, sticks to everything and Epoxy will just pull off after setting. It also cleans up with a little soap and water. Unfortunately, once the clay is exposed to epoxy and PVA, it has to be discarded.
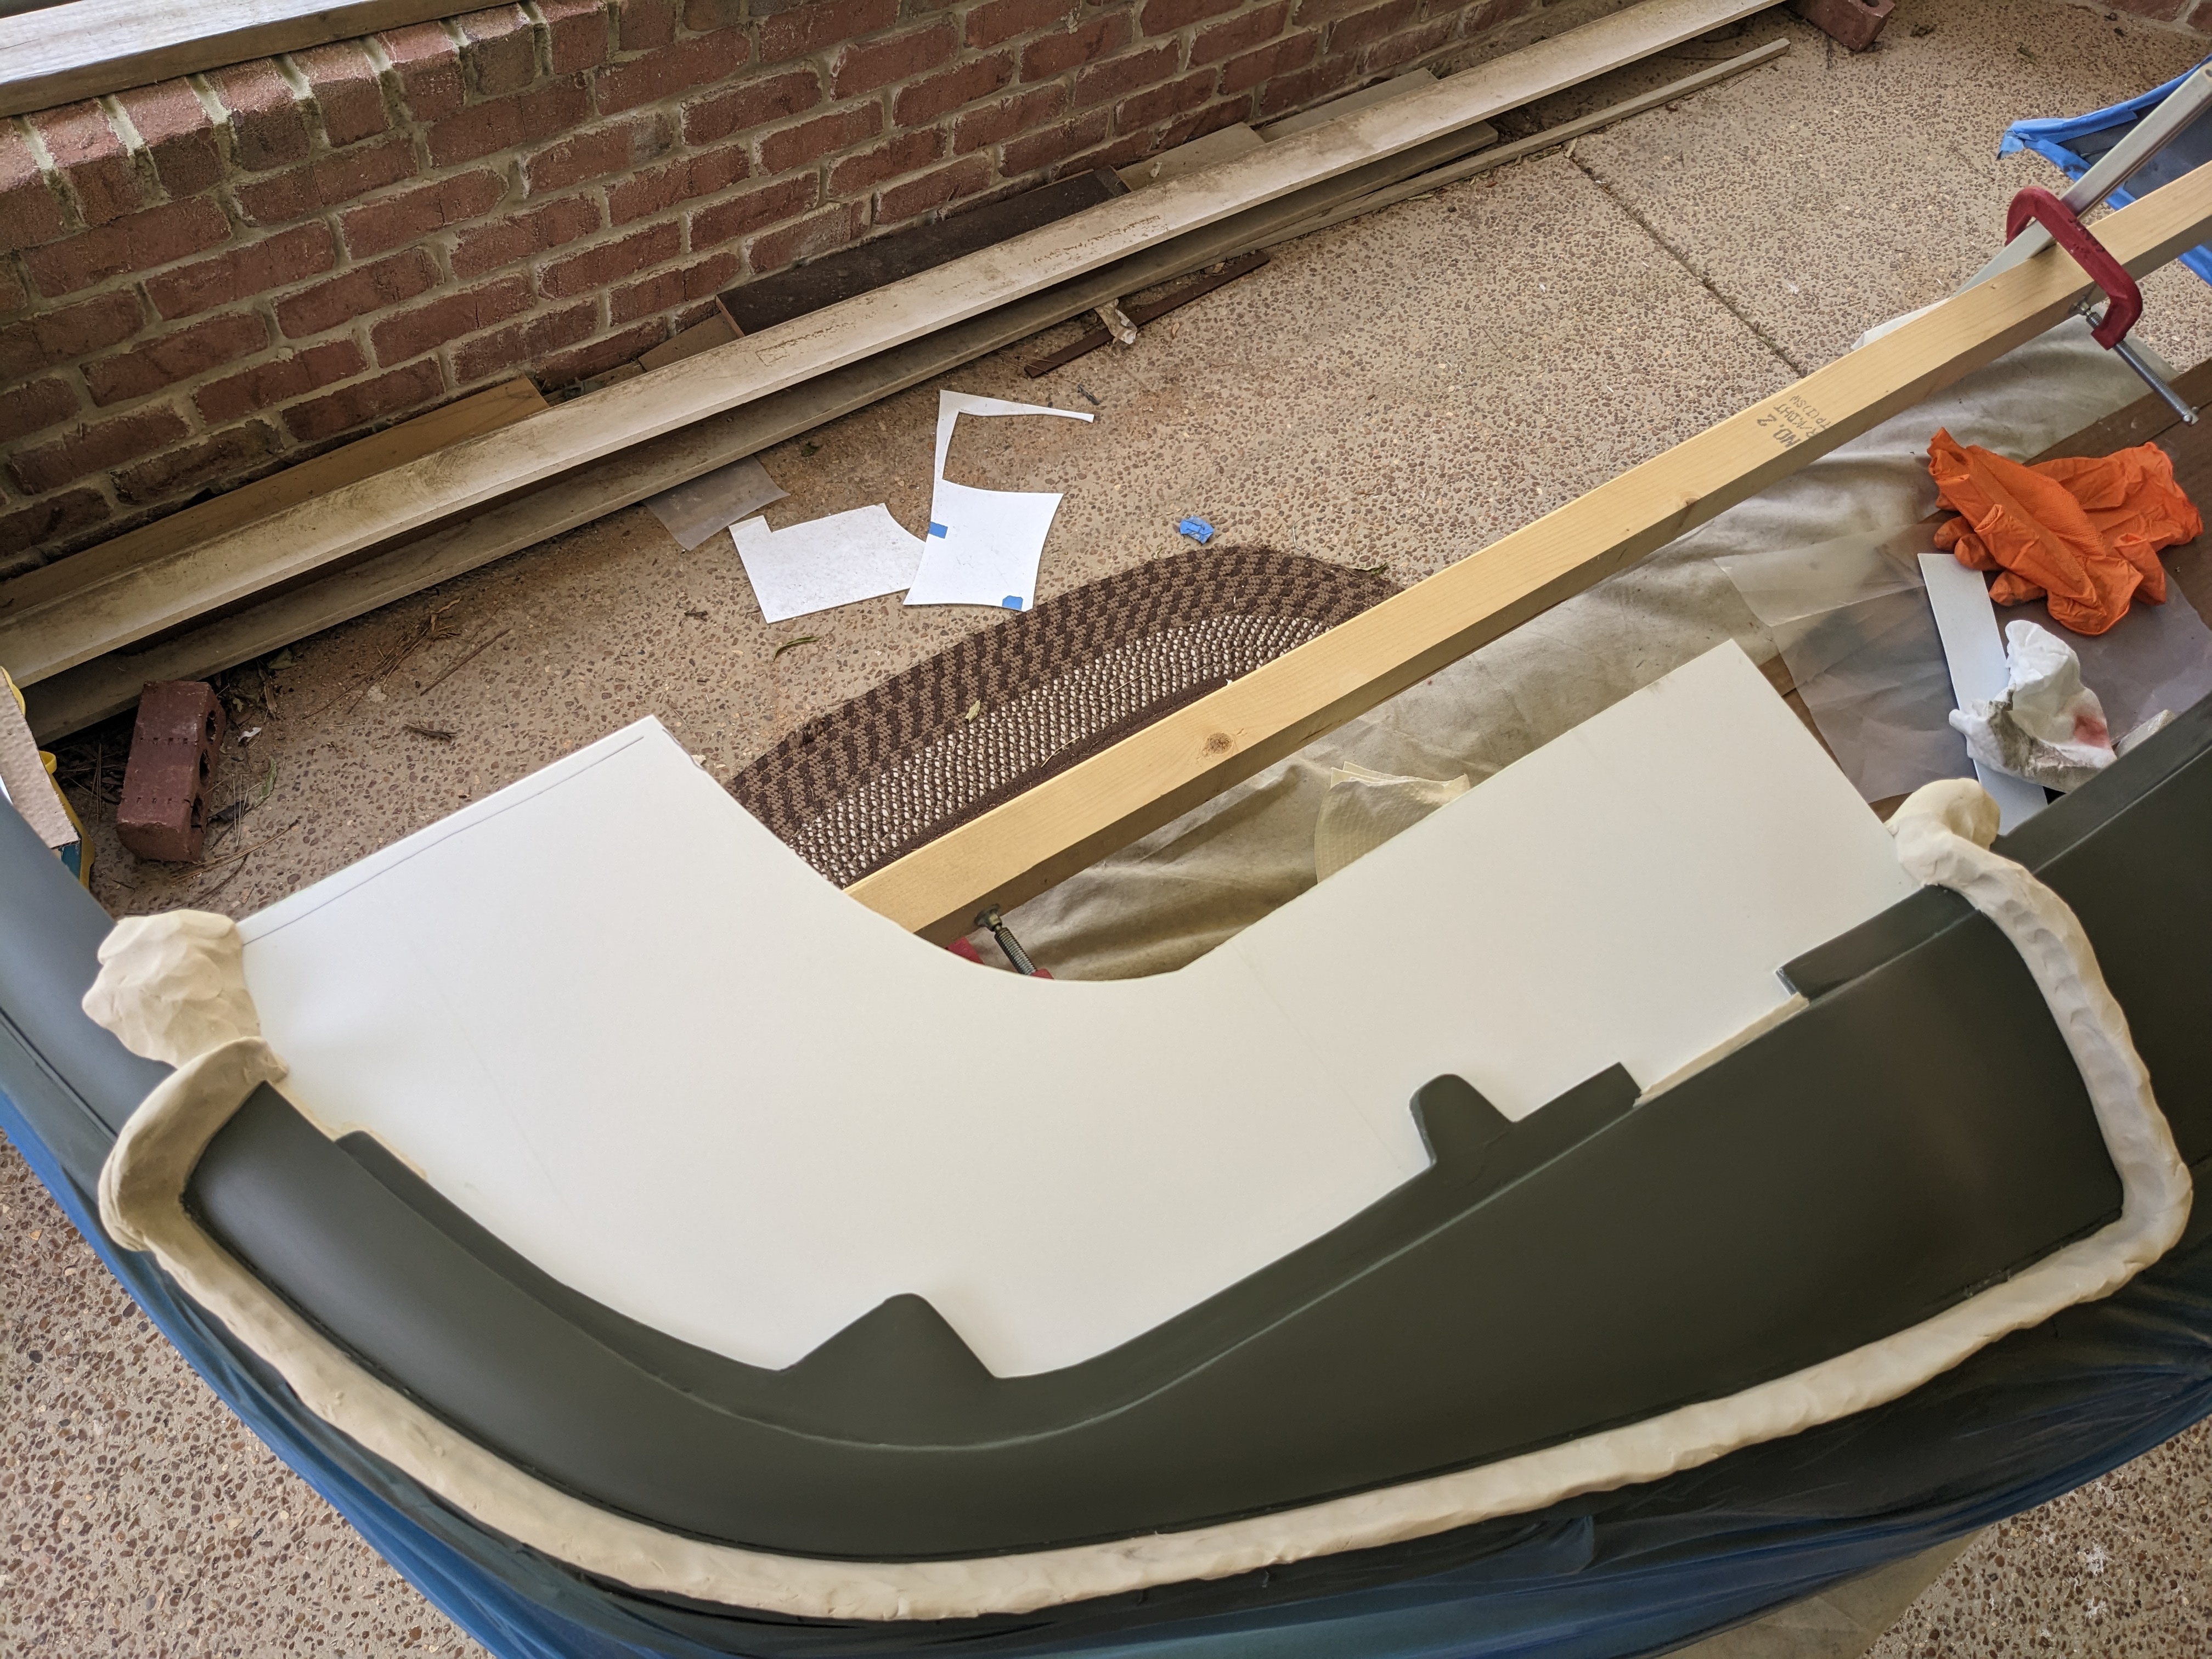
Here's the setup, ready for the next step. A piece of the original bumper was missing with the original repair. It's just a little piece in the cutout. I used clay to rebuild it. The blobs of clay at the ends of the mold are there to stiffen the backer board and keep any oozing epoxy away from the good material in the bumper.

Here's another view of the finished mold.
To prepare the mold for the next step, everything is coated with a mold release wax (Partall #2) and Polyvinyl Alcohol (PVA, Partall #10). PVA has this great quality where it is impervious to epoxy but washes off with water. It forms a tough plastic coat on the surface that pulls away easily after the epoxy sets. It also can be sprayed shiny, and fills in up to 100 grit scratches.

To start, all the edges and corners are filled with Gelmagic. Fiberglass doesn't like to bend much so filling them in first makes the transitions for the fiberglass very easy and makes for a stronger and stiffer result. I could have used reinforced Gelmagic but since this is just a mold, the pure stuff is good enough. Gelmagic is slightly flexible when set and is tough and resistant to cracking and breaking.

Since I'm working outside, it's important to cover everything with plastic or the freakin insects will land in the stuff and drag their dying bodies across the surface. I don't know what they like about setting epoxy but it's irresistible to the little buggers.

After about six hours, the Gelmagic set enough to do the rest of the mold. I used three layers of a high quality heavy fabric and two layers of a very thick woven for strength. Again, covering everything with plastic prevents the buggers from becoming entombed in my project.

Here it is the next morning. If the mold gods are with me, the mold will just pop off without any difficulties.

The mold gods did me a favor and the mold popped off cleanly. After trimming with a bandsaw and grinder, here's the mold. Turned out very nice.

Here's the underside. Very good surface quality. I should be able to cast a near net shape from this mold.

Another view.


All the repair material on the inside was ground leaving a very rough surface. I tried to put as many ridges as I could to help with a good, solid bond.

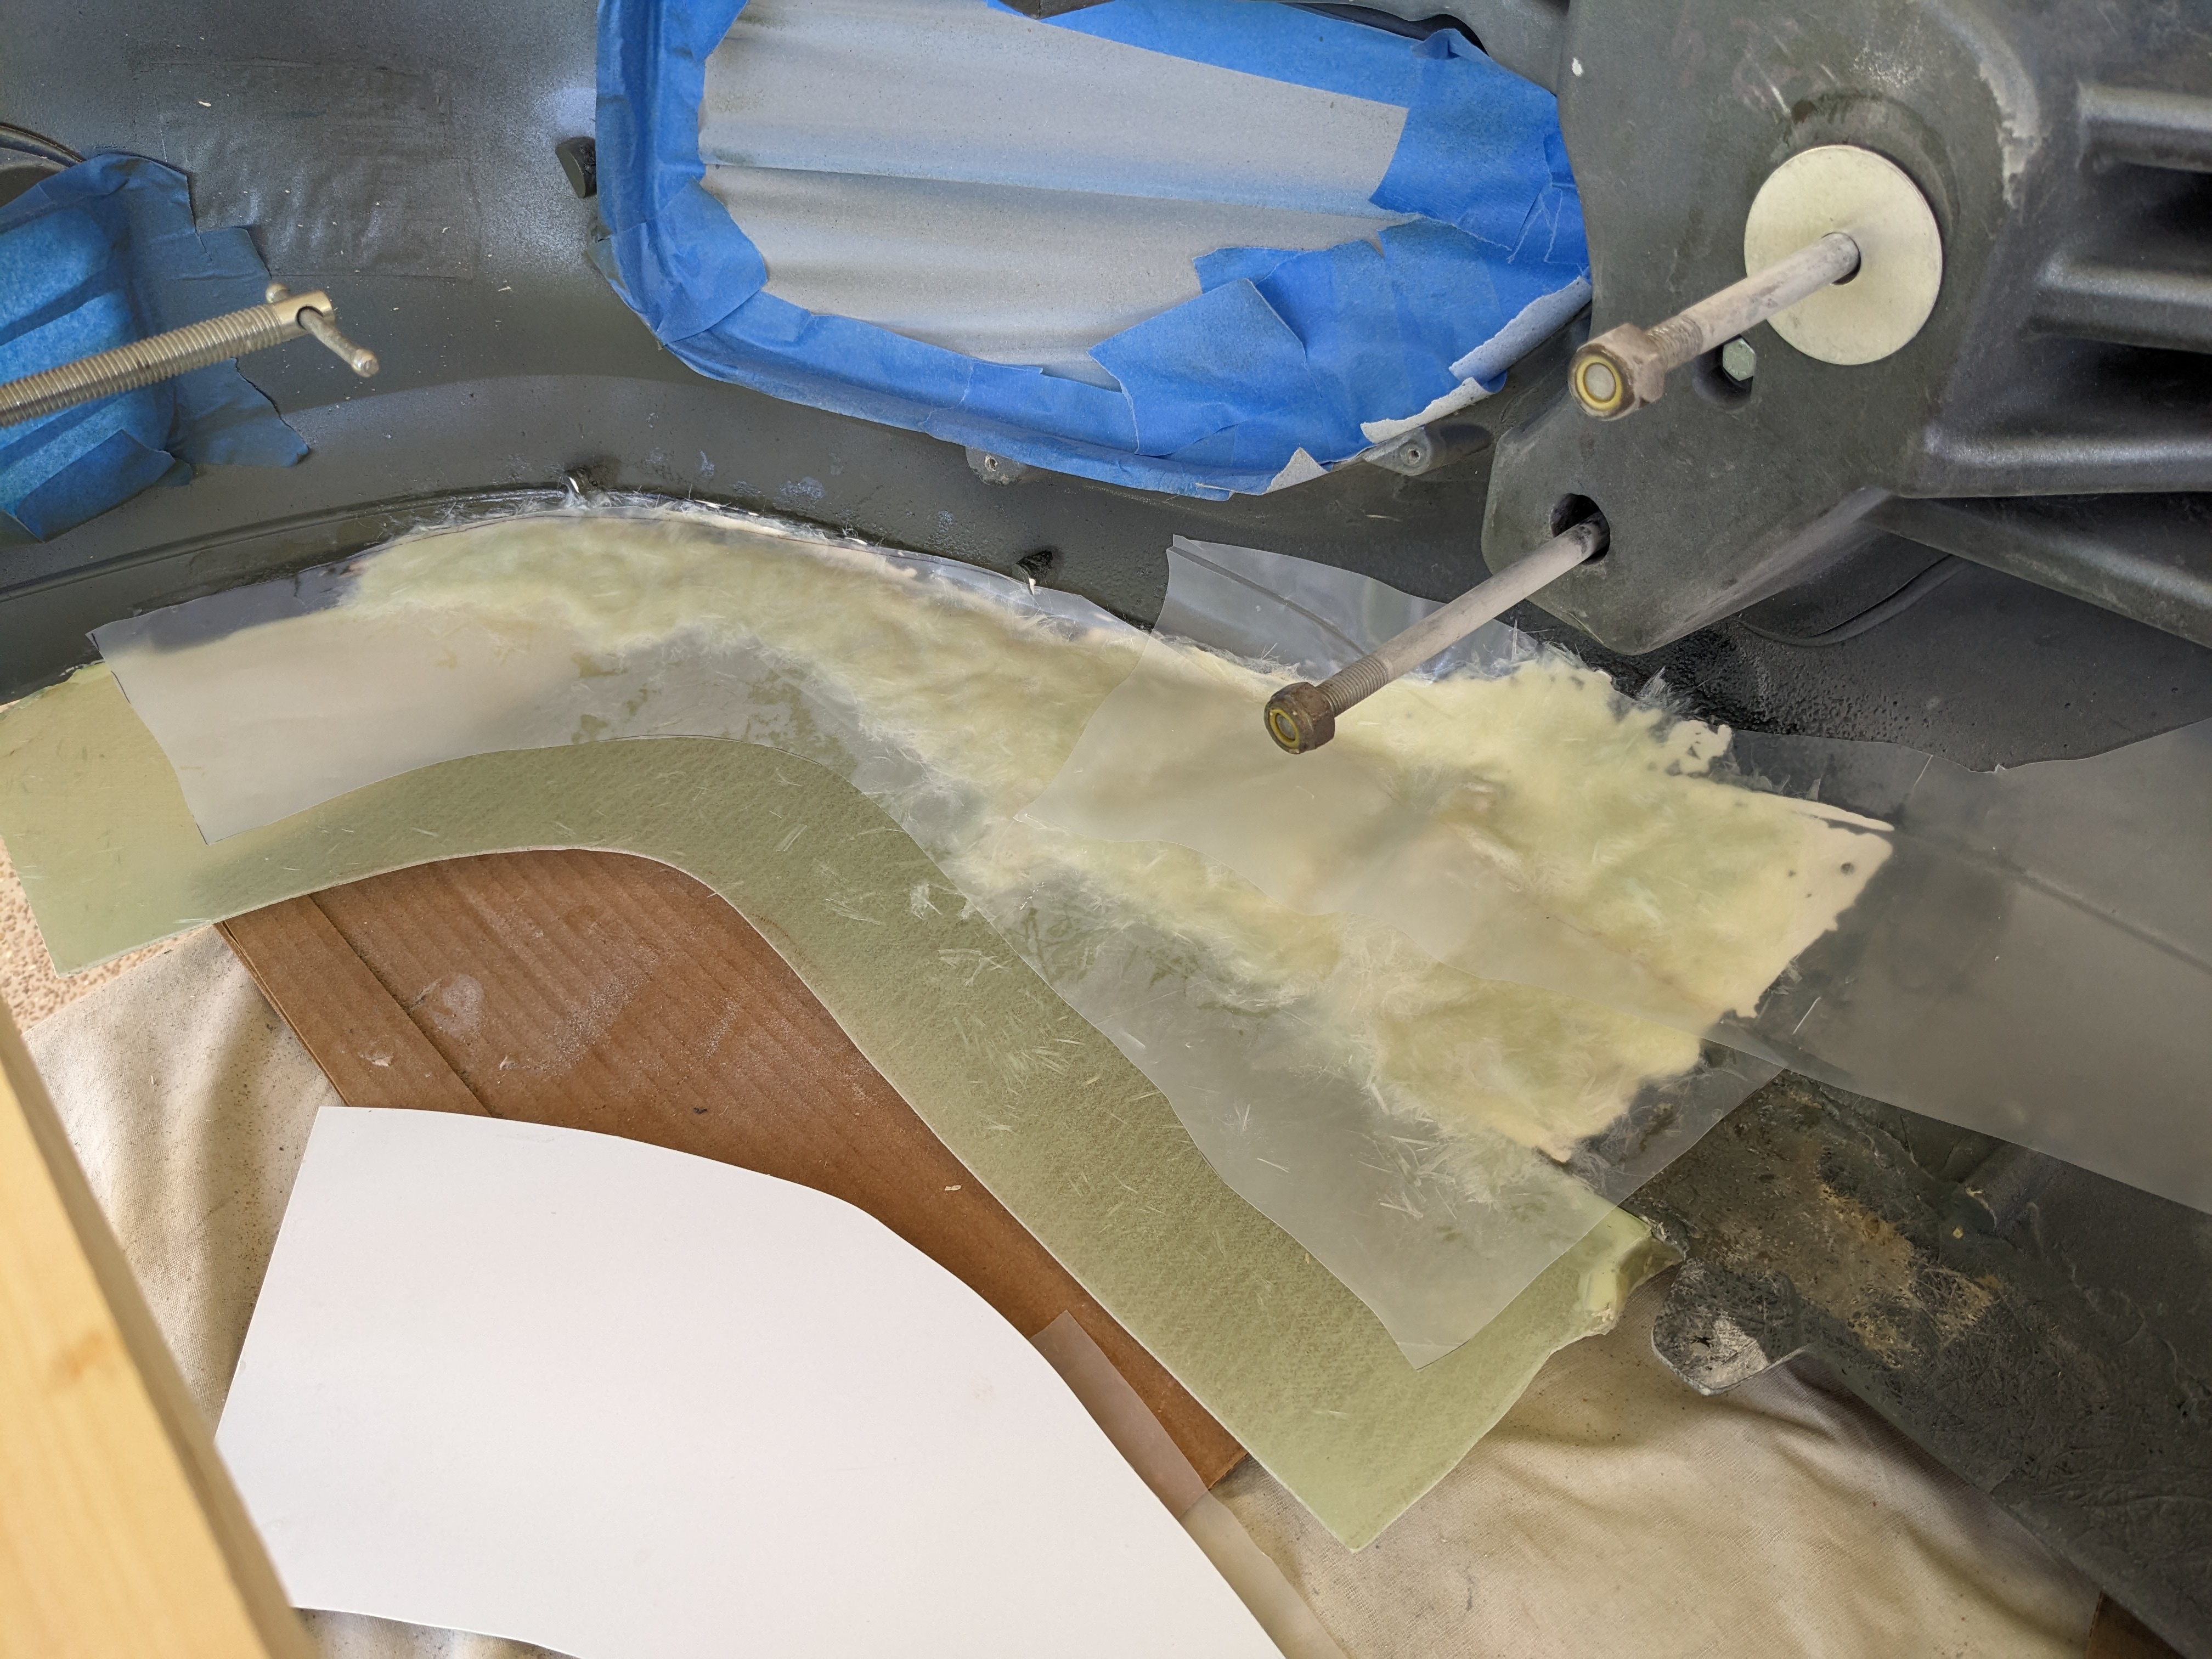
I used the same mix of Gelmagic and fiberglass for the casting which started out on the outside, without the mold. The epoxy glass mixture covered the areas where fresh bumper material was exposed, with lots of extra overlapping into the area where the bumper was cut away. Looks a bit furry at this point.

After the outside was filled in, the mold was installed, along with the locking bolts and the bumper flipped over. After filling the inside with the fiberglass mixture, plastic sheets covered everything and finger pressure applied to smooth and squeeze out air bubbles. The entire process from start of the outside to finishing the inside took about an hour and a half.
The mold released just fine and the surface texture was fairly unsatisfactory. I would have had a better result if the mold had been "preloaded" with Gelmagic in the edges and corners. For some castings, this could have been a bummer but for this job, just fine. The structure was fine and the material solid. It was the surface texture that turned out very rough.

To fix it, I coated the entire casting with a GelMagic and put the mold back in place. Here's the result after a little sanding and trimming off the excess. Nice sharp edges and crisp angles. The surface is smooth, with a low defect rate. Totally acceptable.

After smearing it with glazing putty and wet sanding with 220, the surface was ready for primer. The edges of the casting are solidly bonded with the original bumper material and since both sides of the original material are bonded, it will be difficult for the casting to unbond from the fragile bumper material. I'd say the bumper will break some place else next time, hopefully, not on my watch.


And coated with Gelmagic to remove any surface imperfections.

After priming and painting flat black, the inside was complete.

The bumper was flipped one more time and the outside painted a satin black.

Here's another view.

The next step is to install new scrape pads. These will be 3D printed with a design that should absorb a lot more energy than a simple scrape pad.
I could have done a cosmetic job in a single day but instead, opted to do a much more complex remolding of the damaged area without using any bondo. The result is the bumper is as flexible as it was before the repair and should be able to take a decent hit without cracking or losing tabs. I'm sure there are plenty of 360's out there that have similar damage. I've had low cars for decades so I'm pretty attuned to dips and wheel stops but I could easily take a hard hit. Hopefully, this repair will make it so the hit just is embarrassing.
Comments
Post a Comment